Looking for the best coffee is a common journey we all share, and we often discuss how coffee gives us that energy boost. However, one crucial yet often overlooked aspect is “coffee blooming”. But what does that mean, and why should we care?
What’s the Buzz About Coffee Bloom?
Table of Contents
In your quest for the best coffee, understanding the blooming process is key. It’s a unique part of brewing that some coffee enthusiasts might not even know about. Let’s change that!
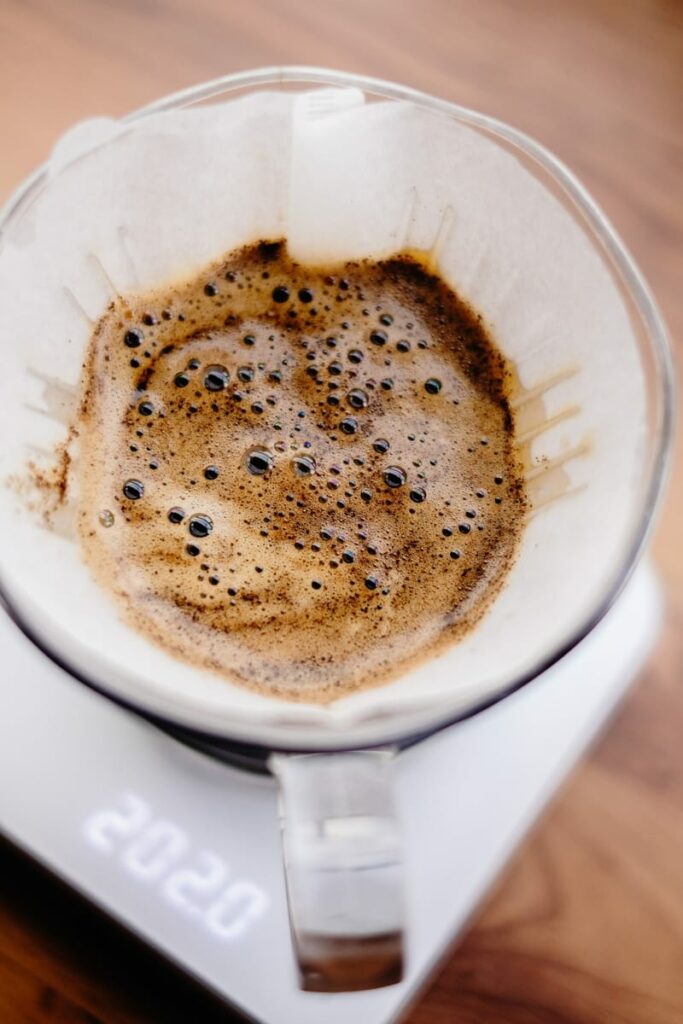
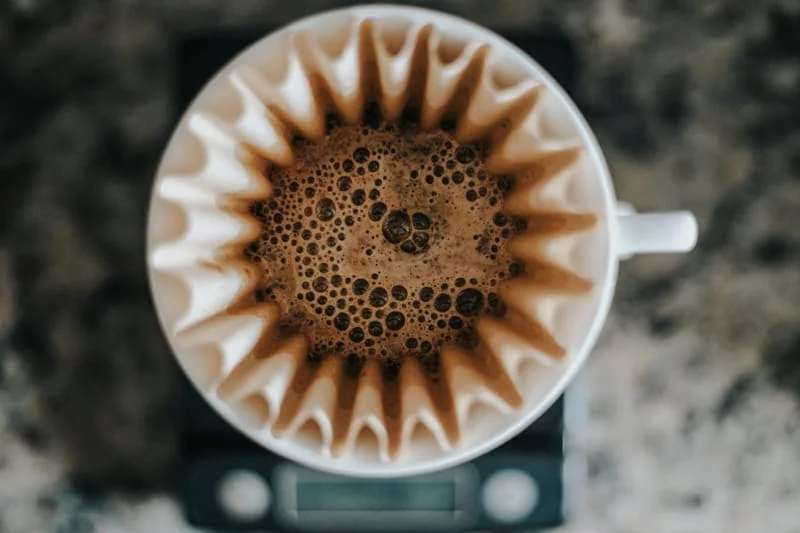
“Coffee bloom” is a term mainly used in pour-over brewing. It involves pouring a bit of hot water over your coffee grounds, letting it sit for about 30 seconds before you start brewing.
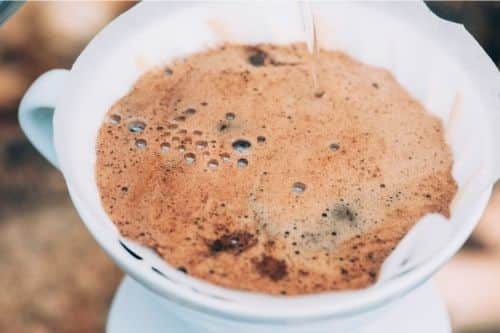
In these 30 seconds, you’ll see the coffee grounds swell and bubbles form on the surface. This is due to the release of carbon dioxide (CO2) from the coffee beans.
Why Does Coffee Bloom Happen?
The story of coffee bloom begins when coffee beans are grown. They absorb CO2, which starts to escape during roasting. The longer the roast, the more CO2 is released. That’s why dark roasts have less CO2.
When coffee beans are ground, their surface area increases, allowing for more degassing. This is why freshly ground coffee is recommended – it preserves the freshness.
But here’s the twist: while degassing removes CO2, it also takes away some of the coffee flavors. We want to keep CO2 until brewing starts. Once brewing begins, too much CO2 can make your coffee taste sour and prevent the tasty compounds of coffee from getting properly extracted.
That’s why blooming your coffee for about 30 seconds before brewing is so crucial. It allows most of the CO2 to be released, setting the stage for a great cup of coffee.

The Importance of Freshly Roasted and Ground Coffee
As the roasting process unfolds, CO2 starts to release, and this continues after roasting. Most of the CO2, and hence the flavorful compounds, escape in the first week, after which degassing slows down.
Grinding coffee beans increases their surface area, making degassing faster. This is why we recommend grinding your beans just before brewing.
Proper Storage Matters
The way you package and store your coffee beans also plays a crucial role. Airtight containers are great for keeping gases contained and reducing CO2 release. They also prevent elements like oxygen and moisture from spoiling your beans.
Many top coffee brands sell their beans in vacuum-packed bags with a one-way valve for the slow release of CO2.
Other Factors to Consider
Apart from roasting, grinding, and storage, other factors like the hardness of the beans, storage temperature and humidity, roast level, and even the origin of the coffee can affect CO2 release.
When is Coffee Blooming Necessary?
Not all brewing methods need coffee blooming. For example, it’s crucial for pour-over brewing, where hot water and coffee beans are in contact for a short time. But for cold brewing, where hot water isn’t used, you can bloom the coffee grounds with hot water before starting your cold brew to get a more flavorful result.

How to Bloom Coffee for Different Brews
The basics remain the same across brewing methods – dampen the coffee grounds with a bit of hot water and let them bloom before brewing. However, the approach can vary depending on your coffee maker. If your coffee grounds don’t swell or form bubbles when you add hot water, they’re likely stale, which could lead to a less flavorful brew.
For pour-over, French Press, automatic drip coffee makers, cold brew, and manual espresso machines, the blooming process involves a few specific steps:
Pour-Over
Pour a bit of hot water over your coffee grounds in a circular motion, starting from the outside and moving toward the center. Use just enough water to wet the coffee but not cause it to drip through. Let it bloom for a minute before brewing.
French Press
Pour hot water over your coarse ground coffee and let it bloom for about 20 seconds. Stir the coffee grounds with a spoon, then continue with the rest of the brewing process.
Automatic Drip Coffee Maker
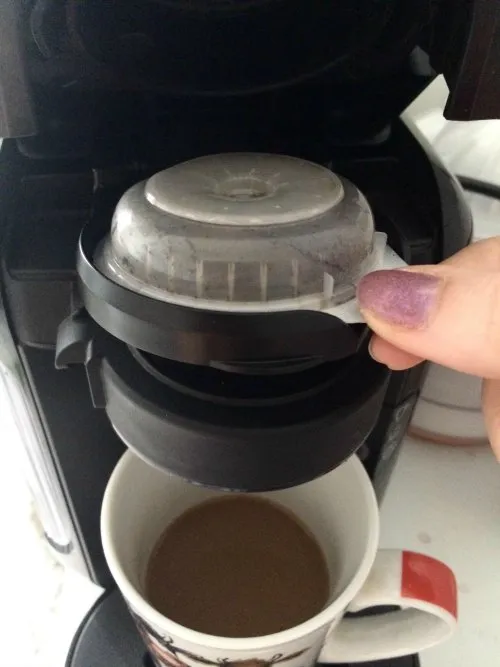
Add your coffee to the filter basket, pour some water over the grounds, and let it bloom for about 90 seconds. After that, start the regular brewing cycle.
Cold Brew
Try a hot bloom/cold brew method. Add coffee grounds to the container, pour a bit of hot water over them, and let them bloom for 30 to 45 seconds. Then add cold water and let it brew for 12-24 hours.
Manual Espresso Machine
In the case of espresso coffee makers, blooming is known as pre-infusion. It wets the grounds and swells the coffee within the portafilter, increasing the contact between the hot water and the grounds, resulting in a richer flavor.
For manual or lever-controlled espresso machines, lift the lever until it latches into place and hold for about 15 seconds to let hot water fill up the filter basket. Then perform a halfway pull of 15 seconds on the lever. Repeat this 30-second lever pull once more.
FAQs
Is the water used for blooming included in the total brewing water?
Yes, the water used for blooming is part of the total water used for brewing. However, you can adjust this based on your taste preferences.
Why isn’t my coffee blooming?
The most common reason is stale coffee beans. Ensure you’re buying freshly roasted coffee and storing it properly in an airtight container away from light, heat, and moisture. Dark roast coffee beans may not bloom as noticeably as medium and light roasts, but they still swell slightly when hot water is poured over them, indicating freshness.
Troubleshooting Coffee Bloom
My Coffee Isn’t Blooming, What Do I Do?
Here’s a quick checklist to help you troubleshoot:
- Check the freshness of your beans: Freshly roasted beans are ideal for blooming. Beans that are older than two weeks post-roasting might not bloom well.
- Check your grind size: A medium to coarse grind is best for blooming. If your grind is too fine, the water may not penetrate adequately.
- Check your water temperature: The ideal water temperature for blooming is between 195°F to 205°F (90°C to 96°C).
Can I Bloom Pre-Ground Coffee?
Yes, you can! However, keep in mind that pre-ground coffee might not bloom as much as freshly ground beans. The pre-ground coffee has likely already released a lot of its gases. But it’s still worth a try to enhance your brew’s flavor.
Can You Bloom Coffee Too Much?
Yes, you can. Over-blooming can result in over-extraction, which can make your coffee taste bitter. It’s best to stick to the recommended 30-45 seconds for optimal results.
Can I Skip the Blooming Process?
Absolutely, blooming is not a mandatory step. However, it does help bring out the best flavors in your coffee. If you’re in a rush, feel free to skip it, but for the best tasting coffee, give blooming a shot!
Wrapping Up
If you have an automatic coffee maker that prepares your brew before you wake up, you might miss out on the magic of coffee blooming. But if you’re a coffee lover who enjoys every step of the brewing process, whether manual or automatic, pre-wetting the coffee grounds can enhance your coffee experience. By understanding what coffee bloom is and how it affects the taste of your brew, you can start making the most flavorful cups of coffee.
So, there you have it – a comprehensive guide on coffee bloom. By understanding and using this process, you can elevate your brewing techniques and enjoy a more flavorful cup of joe. Remember, coffee is as much about the journey as it is about the destination – so take some time, bloom your coffee, and savor the difference. Happy brewing!


Great article! I always find the process of coffee bloom very exciting, and it’s something that I always look forward to whenever I brew my french press in the morning. It’s a very ritualistic process! Haha!